Live strong. Eat wise. Feel alive
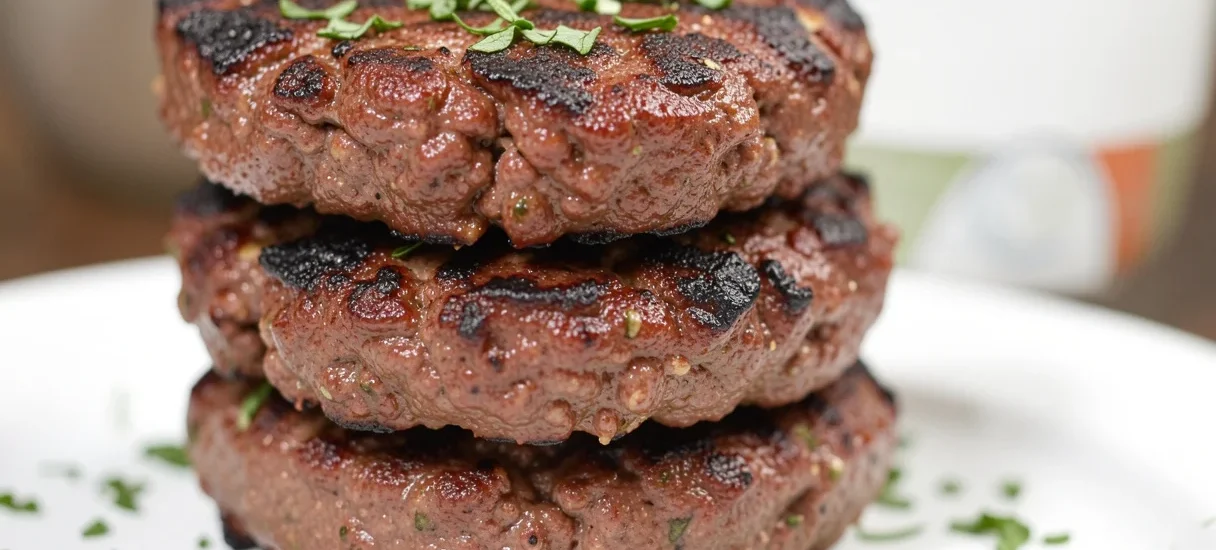
Open a box of frozen burger patties. Flip it over. Read the ingredients.
You’ll find things like “soy protein concentrate,” “modified food starch,” “carrageenan,” “sodium phosphates,” and “natural flavors” — none of which are beef.
Here’s the truth: most store-bought frozen burger patties are barely 80% beef. The rest is fillers, preservatives, and binders designed to make cheap meat feel juicier than it actually is.
But a real burger? A real burger has one ingredient: beef.
And making it at home takes exactly 10 minutes of active time. You control the fat content. You control the seasoning. And the taste is so far superior to frozen patties that you’ll never buy them again.
This guide gives you a foolproof method for homemade beef burger patties — no additives, no fillers, no mystery ingredients. Just juicy, flavorful, 100% beef patties every single time.
| Store-Bought Frozen Patties | Homemade Patties |
| Contain fillers, starches, and preservatives | 100% beef (you control everything) |
| Unknown meat quality | You choose the cut and grind |
| Often dry or rubbery | Juicy, tender, custom texture |
| Overpriced for what you get | Cheaper per pound |
| Limited seasoning options | Season exactly how you like |
| Can’t control fat content | Choose lean-to-fat ratio |
Real-talk verdict: Once you make homemade patties, you’ll never buy frozen again.
The secret to a juicy burger is fat content. Aim for 80/20 (80% lean meat, 20% fat). Too lean (90/10) = dry burger. Too fatty (70/30) = greasy, falls apart.
| Cut | Fat Content | Best For | Notes |
| Chuck | 15–20% | Best all-around burger | Classic flavor, juicy |
| Brisket | 20–25% | Rich, beefy burgers | Grind yourself or ask butcher |
| Short rib | 25–30% | Ultra-juicy, decadent | Expensive, worth it for special occasions |
| Sirloin | 10–15% | Leaner burgers | Can be dry — mix with chuck |
| Ground beef (store-bought) | 15–20% | Convenient | Look for 80/20 labeled |
Best for beginners: 80/20 ground chuck from the butcher counter (not pre-packaged tubes).
Pro tip: If you have a meat grinder or food processor, grind your own. Mix chuck + brisket for the ultimate burger.
| Ingredient | Amount | Notes |
| Ground beef (80/20) | 1 lb (450g) | Chuck or chuck-brisket blend |
| Kosher salt | 1 tsp | Do not use table salt |
| Black pepper | 1/2 tsp | Freshly ground |
| Garlic powder (optional) | 1/4 tsp | Adds depth |
| Onion powder (optional) | 1/4 tsp | Adds sweetness |
| Neutral oil | 1 tbsp | For cooking (avocado, canola, grapeseed) |
What NOT to add:
| Ingredient | Why Avoid |
| Eggs | Makes patties dense, meatloaf-like |
| Breadcrumbs | Filler — not needed for burgers |
| Milk | Adds moisture but dilutes beef flavor |
| Worcestershire sauce | Fine in moderation, but not necessary |
| Chopped onions | Burns on grill/pan, makes patties fall apart |
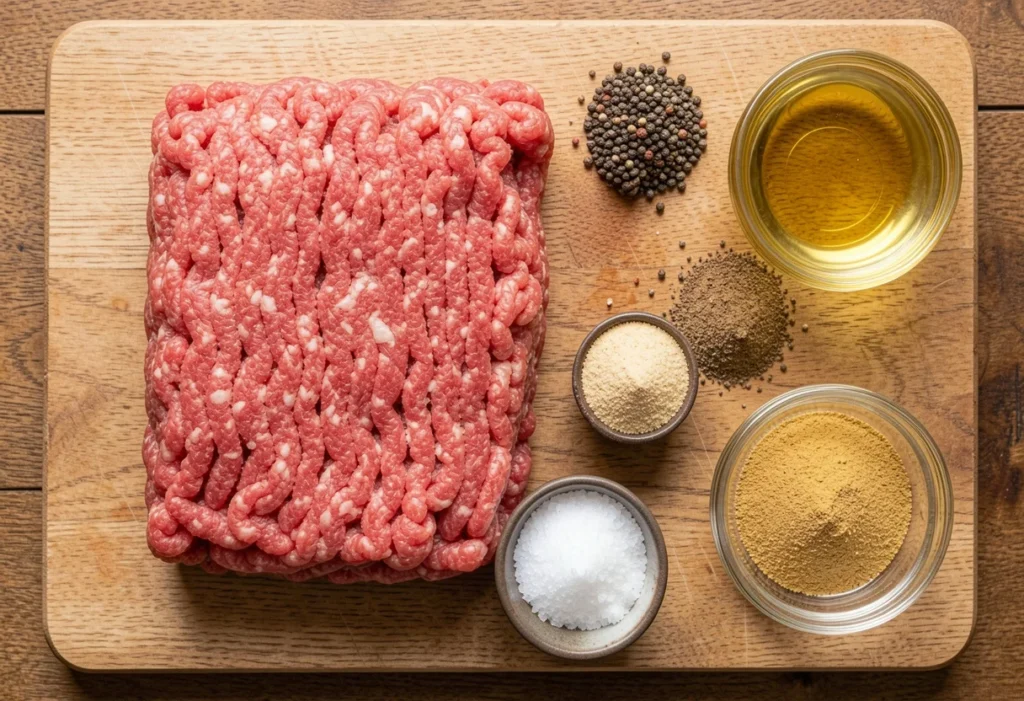
A real burger patty needs only beef, salt, and pepper. Everything else is optional.
| Equipment | Why It Matters |
| Large bowl | For mixing |
| Kitchen scale (optional) | For equal patties |
| Your hands | Best tool for mixing (don’t overwork) |
| Parchment paper or plastic wrap | For separating patties |
| Cast-iron skillet, grill, or griddle | For cooking |
| Spatula | For flipping (thin, metal is best) |
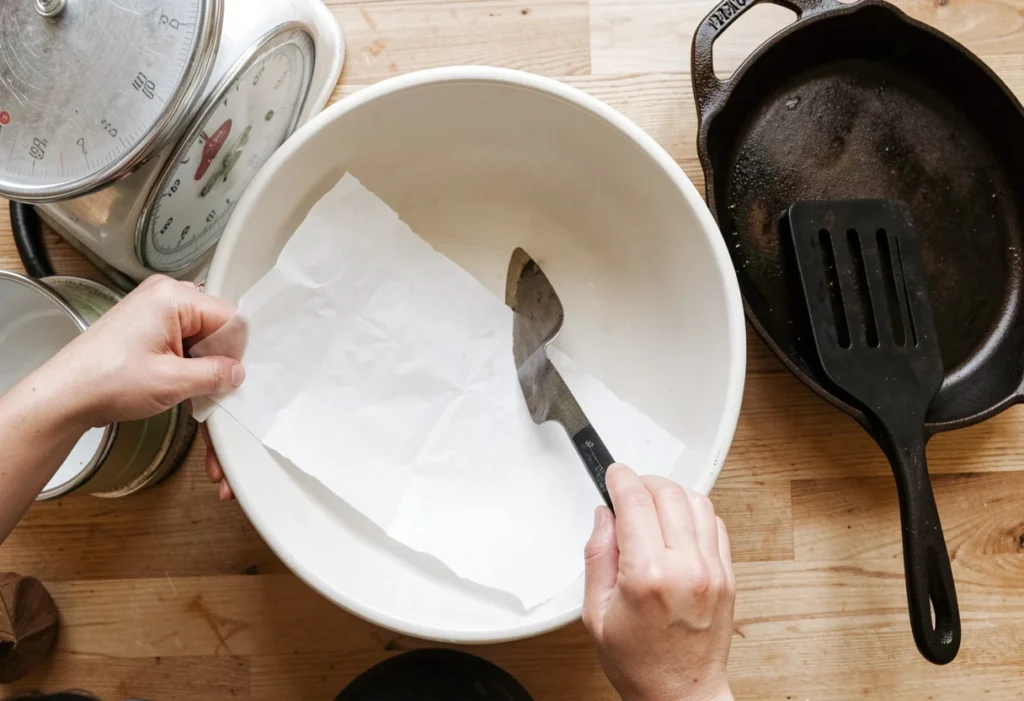
Keep your ground beef refrigerated until the moment you’re ready to form patties.
| Why This Matters |
| Cold fat stays solid. Solid fat = juicy burger. Warm fat melts into the meat before cooking = dry burger. |
Do not let the meat sit at room temperature before forming patties.
Place the ground beef in a large bowl. Gently shape it into a loose log or flat disc.
| Do NOT Do | Do This Instead |
| Don’t squeeze, compress, or overwork the meat | Handle as little as possible. Overworking = dense, tough burgers. |
Think of it like snow: you want it to barely hold together, not feel like a baseball.
| Patty Size | Meat per Patty | Best For |
| Small | 4 oz (113g) | Kids, sliders |
| Standard | 5–6 oz (140–170g) | Most burgers |
| Large | 8 oz (225g) | Big appetites, restaurant style |
For 1 lb of meat: make 2 large patties (8 oz each) or 3 standard patties (5–6 oz each).
Use a kitchen scale for equal sizes. Or eyeball it — practice makes perfect.
Gently roll each portion into a loose ball between your palms.
| Texture Goal | What It Should Feel Like |
| Barely held together | Like a snowball, not a baseball |
Do not pack it tight. Tight packing = dense, tough burger.
Place the ball on parchment paper. Gently press down with your palm until it’s 3/4 to 1 inch thick.
Critical step: Create a dimple in the center.
| Action | Why |
| Use your thumb to press a shallow indent (1/2 inch deep) in the center of each patty | Burgers bulge in the middle as they cook. The dimple prevents a “meatball” shape, giving you a flat, even patty. |
The dimple is not optional. It’s the difference between a flat burger that fits on a bun and a round, bulky mess.
Place formed patties on a plate lined with parchment paper. Cover and refrigerate for 30 minutes.
| Why This Matters |
| Chilling firms up the fat. Cold patties hold together better on the grill or pan. |
If you’re in a rush, skip this step. But don’t skip the dimple.
Remove patties from the refrigerator. Sprinkle salt and pepper generously on both sides — right before they hit the heat.
| Do NOT Do | Do This Instead |
| Don’t salt the meat hours in advance | Salt draws out moisture. Season immediately before cooking. |
Pro tip: Season the outside of the patty, not the inside. Mixing salt into the ground beef creates a dense, sausage-like texture.
| Cooking Surface | Temperature | Prep |
| Cast-iron skillet | Medium-high to high | Add 1 tbsp oil |
| Grill (gas or charcoal) | Medium-high (450–500°F) | Clean and oil grates |
| Griddle | Medium-high to high | Lightly oil |
Test for readiness: A drop of water should sizzle and evaporate immediately.
Place patties on the hot surface. Leave them alone.
| Time | Action |
| 3–4 minutes | First side — do not move, peek, or press |
| Flip once | Use a thin spatula |
| 3–4 minutes | Second side — do not press |
NEVER press down on a burger with your spatula. You’re squeezing out the fat and juice that makes it delicious. Pressing = dry burger.
| Doneness | Internal Temperature | Center Color |
| Medium-rare | 130–135°F (54–57°C) | Red-pink |
| Medium | 140–145°F (60–63°C) | Light pink |
| Medium-well | 150–155°F (65–68°C) | Slightly pink |
| Well done | 160°F+ (71°C+) | No pink (dry) |
Best for juicy burgers: Medium (140–145°F). The patty will continue cooking after removal.
Transfer patties to a plate. Tent loosely with foil. Rest for 2–3 minutes.
| Why This Matters |
| Resting allows juices to redistribute. Cutting immediately = dry burger. |
While the patties rest, toast your burger buns.
| Method | How |
| Same skillet | Face down in the hot pan (30 seconds) |
| Grill | Cut-side down on grates (30–45 seconds) |
| Oven | 350°F for 2–3 minutes |
Toasted buns = structural integrity. No soggy bottoms.
| Layer | Ingredient |
| Bottom bun | Toasted |
| Sauce/mayo | Thin layer (prevents sogginess) |
| Lettuce | Creates barrier |
| Burger patty | The star |
| Cheese (optional) | Add in last 30 seconds of cooking to melt |
| Toppings | Tomato, onion, pickles |
| Top bun | Toasted |
| Patty Size | Thickness | First Side | Second Side | Total Time | Rest |
| 4 oz | 3/4 inch | 2.5 min | 2.5 min | 5–6 min | 2 min |
| 6 oz | 1 inch | 3 min | 3 min | 6–7 min | 2–3 min |
| 8 oz | 1.25 inches | 3.5 min | 3.5 min | 7–8 min | 3 min |
| Mistake | Why It’s Bad | Fix |
| Overworking the meat | Dense, tough patties | Handle as little as possible |
| No dimple in center | Bulging “meatball” burger | Press a thumbprint in the center |
| Pressing with spatula | Squeezes out juice = dry burger | Never press. Leave it alone. |
| Salting too early | Draws moisture out | Season right before cooking |
| Cooking cold patties | Uneven cooking | Chill after forming, but don’t freeze |
| Flipping multiple times | Disrupts crust formation | Flip once (twice total) |
| No rest after cooking | Juices run out | Rest 2–3 minutes |
| Using lean beef (90/10) | Dry burgers | Use 80/20 or add fat |
| Possible Cause | Fix |
| Meat too lean | Use 80/20 (20% fat minimum) |
| Overhandled | Handle meat as little as possible |
| No chill time | Chill formed patties for 30 minutes |
| Too much added moisture (eggs, milk) | Don’t add binders — pure beef is fine |
Yes. This is one of the best meal prep tricks.
| Step | Action |
| 1 | Form patties with dimple |
| 2 | Layer between parchment paper squares |
| 3 | Stack in freezer bag or container |
| 4 | Freeze for up to 3 months |
To cook from frozen: Do not thaw. Add 2–3 minutes per side. Cook to 145°F internal.
| Ratio | Result |
| 90/10 | Dry, lean (not recommended) |
| 85/15 | Acceptable but can be dry |
| 80/20 | Sweet spot — juicy, flavorful |
| 75/25 | Very juicy, greasy (best for smash burgers) |
| 70/30 | Extremely fatty, falls apart easily |
Winner: 80/20 for most home cooks.
Yes. A cast-iron skillet on the stovetop is actually better for crust development than many grills. Follow the same steps — medium-high heat, 1 tbsp oil, don’t press.
| Technique | How |
| Dry surface | Pat patties dry before seasoning |
| Very hot pan | Medium-high to high heat |
| Don’t move | Leave patty alone for 3–4 minutes |
| Don’t press | Let the crust form naturally |
Add cheese during the last 30–60 seconds of cooking. Place a slice on each patty, cover the pan or close the grill lid. The trapped heat melts the cheese without overcooking the meat.
The “touch test” works reasonably well for burgers:
| Doneness | Touch |
| Medium-rare | Soft, very springy |
| Medium | Firm with some give |
| Well done | Very firm |
But seriously, buy a $10 meat thermometer. It’s the best investment for consistent burgers.
Yes, but adjust:
| Change | Why |
| Add 1 tbsp olive oil per lb | Poultry is leaner, needs fat |
| Cook to 165°F (not 145°F) | Poultry safety temperature |
| Handle even more gently | Poultry burgers are more fragile |
| Consider adding breadcrumbs (1/4 cup) | Helps bind lean poultry |
| Layer | Ingredient |
| Bottom bun | Toasted |
| Mayo | Thin layer |
| Lettuce | Crisp, green leaf |
| Burger patty | 6 oz, cooked to medium |
| American cheese | Melted |
| Pickles | Thin slices |
| Red onion | Thin rings |
| Tomato | 1 slice |
| Ketchup + mustard | Squeeze |
| Top bun | Toasted |
A box of frozen burger patties is a lie. They promise convenience but deliver fillers, preservatives, and mediocre taste.
Homemade burger patties take 10 minutes of active time. They cost less per pound. And they taste like actual beef — because that’s all they are.
The rules are simple:
That’s it. No eggs. No breadcrumbs. No mystery ingredients.
Make these once. You’ll never buy frozen patties again.